This product was sent to me for review purposes.
I absolutely love doing my nails! Over the past few years, especially since the onset of the pandemic, I’d become a committed DIY gel manicure enthusiast. However, there’s an issue —I’m embarrassingly bad at properly removing gel, and my natural nails paid the price. The solution for that was to give my nails a breather between manicures. However, I dreaded the thought of going back to bare nails because, personally, having my nails done makes me feel so much more put together.
Enter the modern press-on! I hadn’t used them since I was a tween, but my friend reintroduced me to the world of modern, high-quality press-ons, and I must say, I’m officially converted. I’ve ditched gel polish for the past two months, yet I still get to switch up my nails every week.
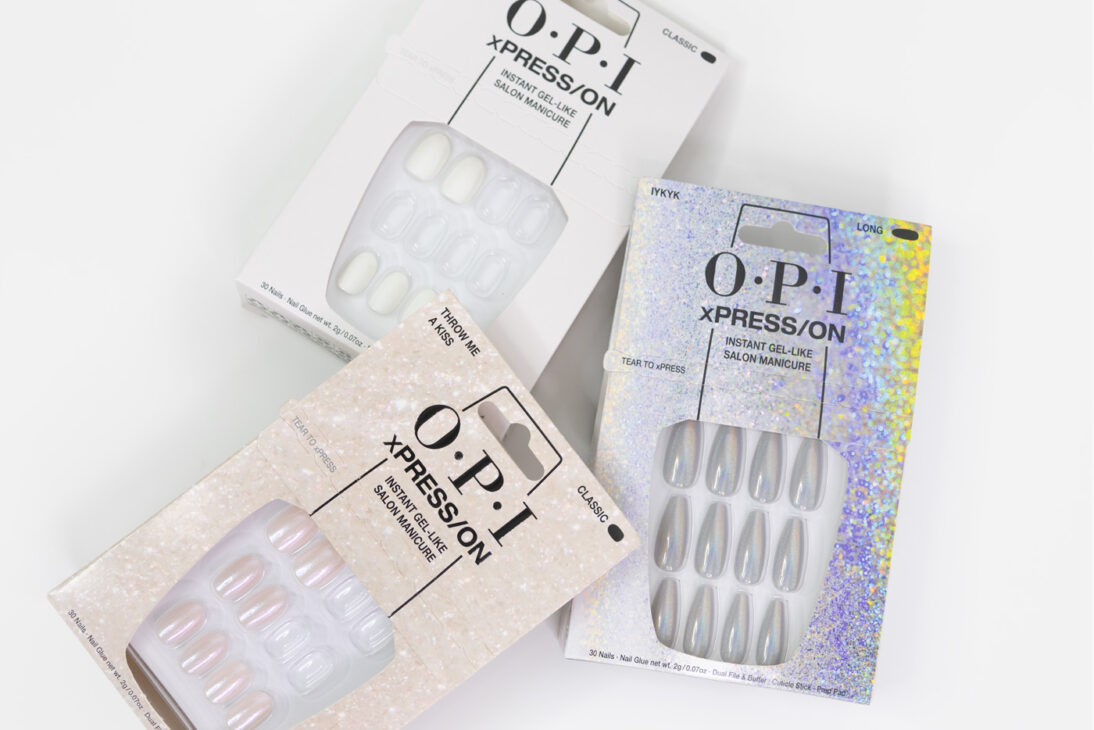
For a relatively affordable but great quality, accessible option – check out OPI’s xPRESS/ON collection! These are reusable and can be found all over Australia in Sephora (or check out your local stockist).
What are Press-Ons and How to Use Them
In a time where the cost of living just keeps rising, it’s no surprise that people have turned to this convenient and relatively affordable DIY alternative to a manicure. Press-ons are essentially artificial nails which can be adhered to your natural nail for a quick beauty transformation; unless gel extensions and shellac, they don’t require any LED lamps and are very easy to apply and remove yourself.
There are so many brands producing press-ons now, from very cheap to super high-end, luxury artistry designs. For myself though, I prefer to stick somewhere in the middle for the quality. Some of my favourite brands include OPI (who have generously gifted me a range of press-ons to trial for this post), and Glowy By Her. I have been obsessed with Nailcissist designs too but, as they are fully handcrafted and much pricier, I haven’t been able to bite the bullet yet!
Press-ons come in a range of shapes, sizes and designs. To apply them, you simply find the nail size that is the closest fit to your natural nail and then adhere with nail glue or, for a more temporary application, sticky tabs. OPI xPRESS/ON Nails only come with nail glue but you can still use them with other branded sticky tabs if you prefer.
With the glue, these tend to last around a week on me. They can go for longer but I usually remove them when they start lifting at the base or grow out too much. To remove, simply soak in warm water and an oil of your choice, then lift it with the included wooden stick. You can file off excess glue and re-use them too.
NOTE: The xPRESS/ON Nails comes in two lengths. ‘Classic’ and ‘Long’ refer to the length of the nail but the shape of the nail varies from design to design. As an example, these rounded classics were perfect for me but the squared classics were too short to fit my nail beds. If you have longer nail beds, I recommend the ‘Long’ length.
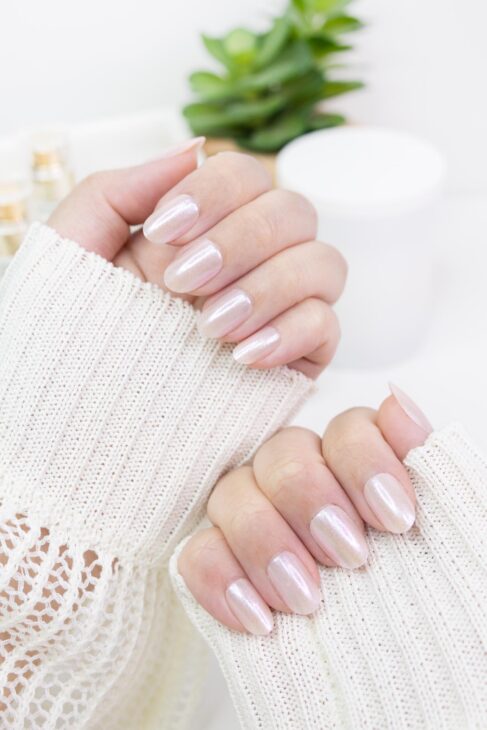
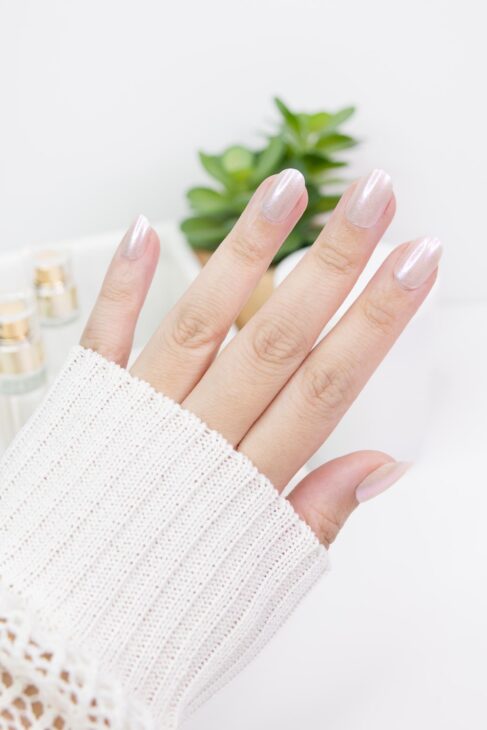
Throw me a Kiss (Classic)
The first set that I tried and easily one of my favourites! The Throw Me a Kiss style has a soft pink shimmer that looks so feminine, dreamy and elegant. It’s the perfect every day nail that works whether you’re a corporate girlie or a getting ready to hit the town.
I’m wearing the classic length, which comes in a more rounded style, but ended up re-purchasing this almost immediately in a long length too! This was also the favourite amongst my friends and colleagues.
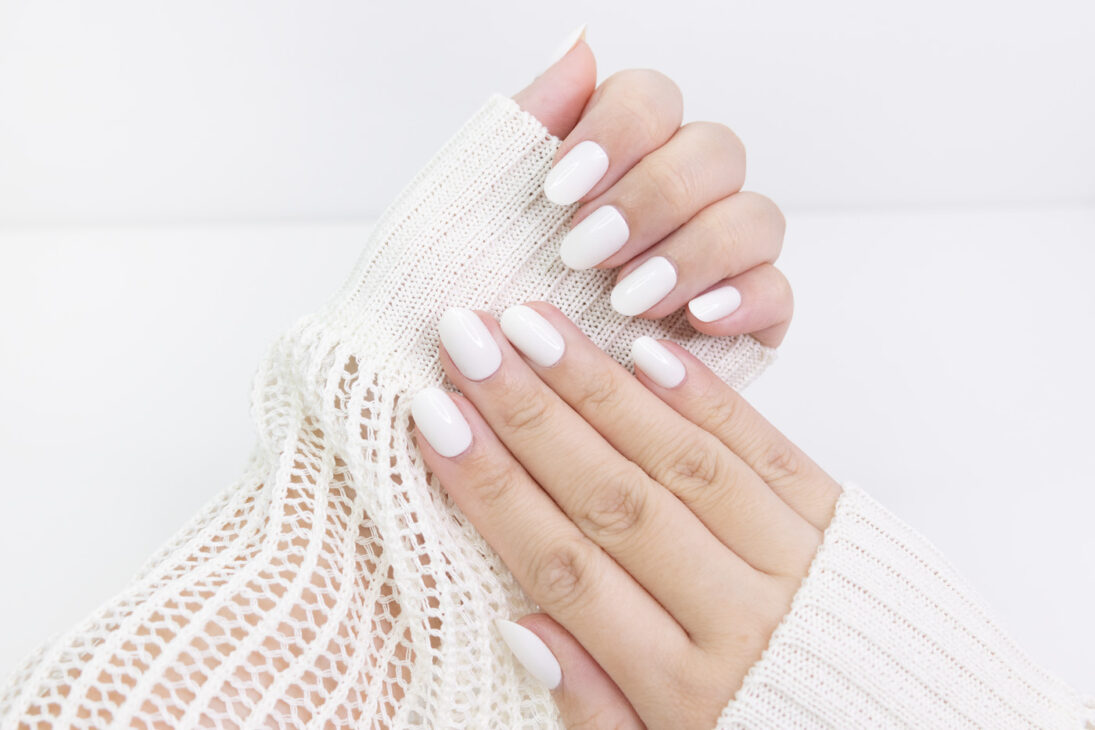
Funny Bunny (Classic)
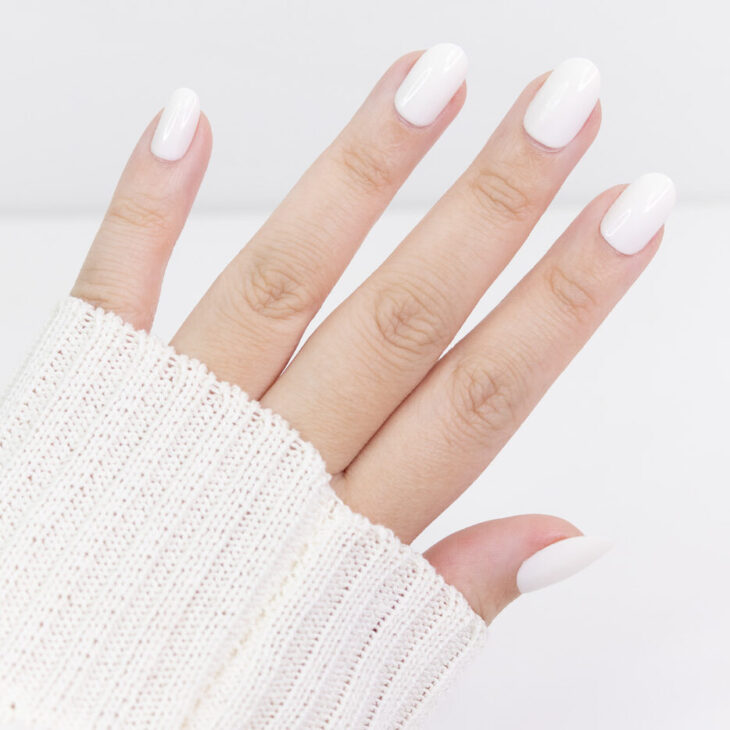
Elegant, clean and modern, Funny Bunny is a great choice. One of OPI’s cult-favourite shades, this is a fully opaque white.
As creamy opacity is difficult to achieve with regular polish (albeit easier with gel), I love how I can get this look with press-ons.
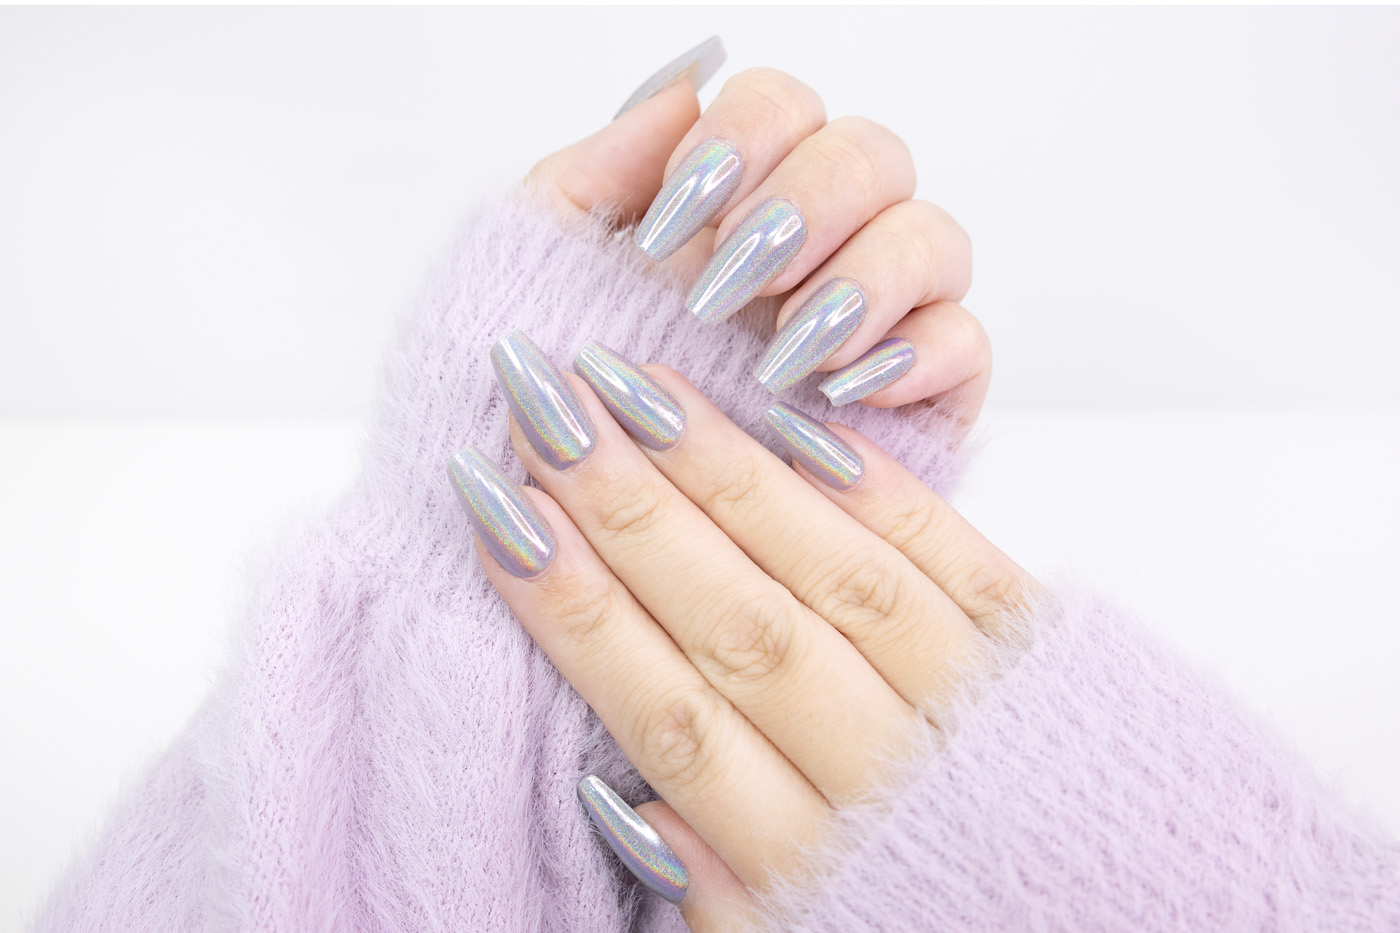
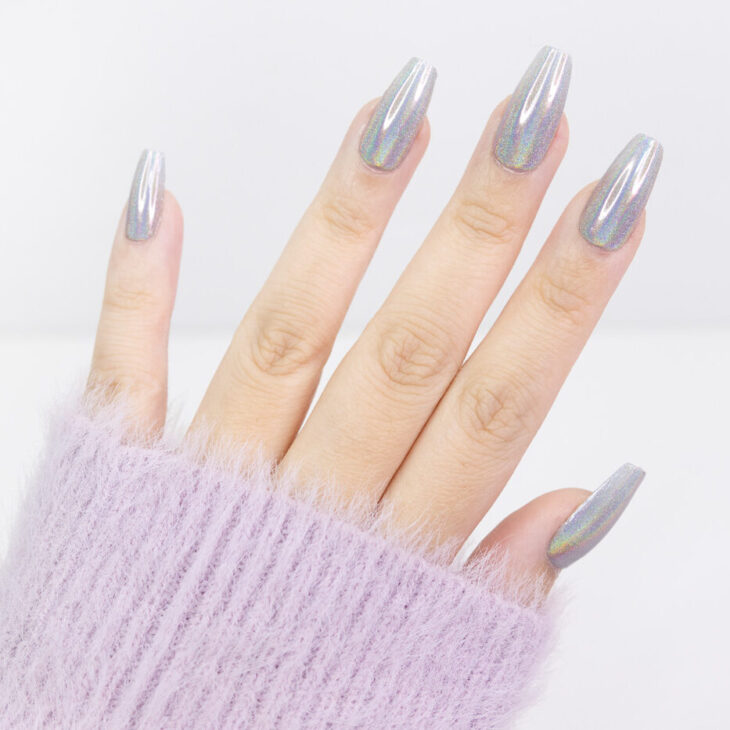
IYKYK (Long)
IYKYK is the design if you love bold, stand out nail designs. It has a silvery holographic finish that’s really fun for special occasions.
They can also be re-shaped but more prone to chipping afterwards. I recommend applying a coat of clear polish to minimize that. I personally shortened around 5mm.
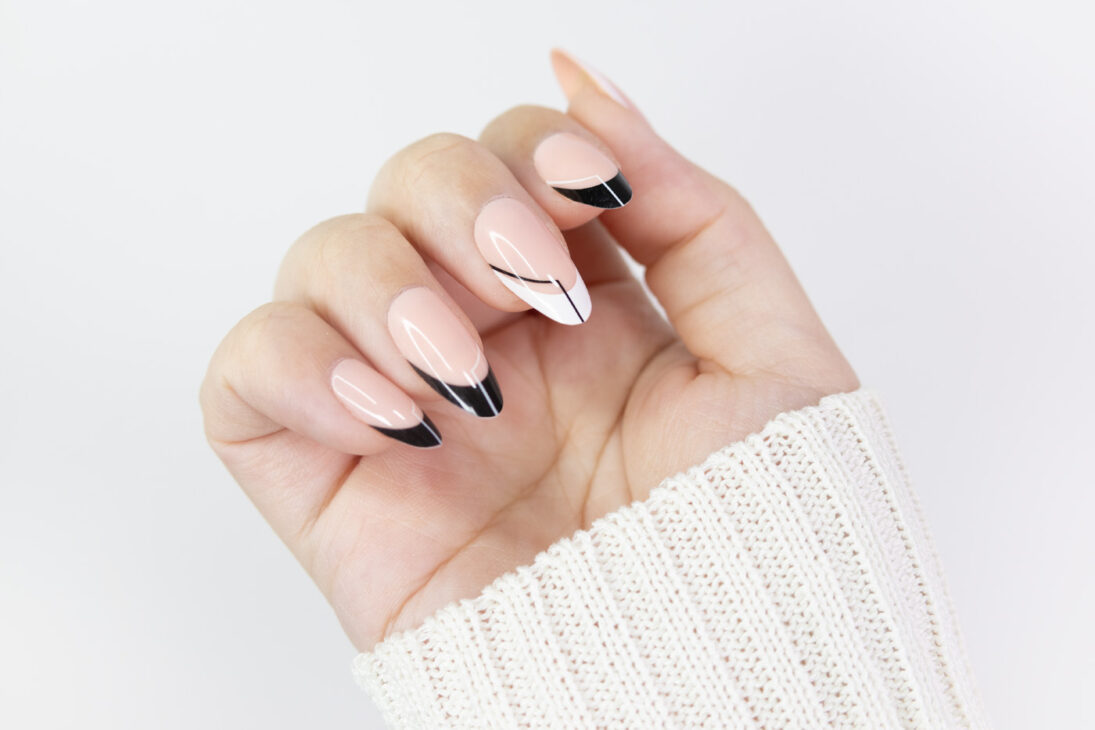
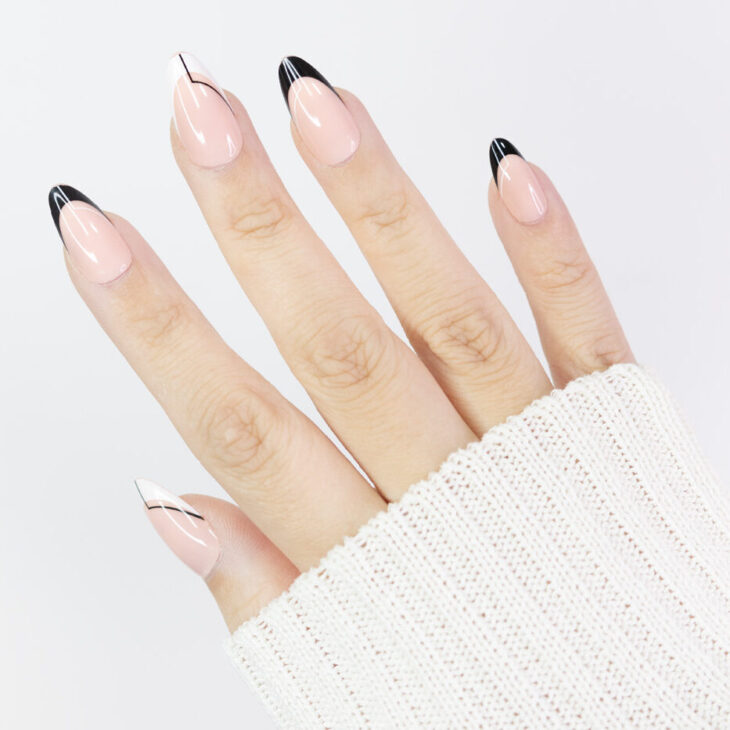
My 9 To Thrive (Long)
This graphic french tip has a simple but unique aesthetic, and the monochromatic colours mean it suits almost any outfit.
However, the mostly opaque base colour and limits its suitability for different skin tones. I really hope that OPI will release this design with a semi-opaque nude base in the future.
Press-ons make beautiful nails accessible and also easy for everyone, and the wide range means that there’s something for any occasion. OPI also strikes a good balance between quality and affordability, with prices starting from AUD$24 a set (for classic lengths), so they’re my best recommendation for people wanting to try out this new trend.
My personal favourite is Throw Me a Kiss! I love the longer lengths too, but found that IYKYK and My 9 To Thrive have a tendency to chip over time, especially if you’re an avid typer like me.
NOTE: If you want to give your nails some extra care beneath your press-ons, check out the Repair Mode™ Bond Building Nail Serum too! It applies clear and dries pretty much instantly, so it doesn’t add much time to your application process at all.
OPI is available at Sephora Australia, or head over to their main website to shop online.